Updated - October 4, 2025 - Copyright - Ralph Gibson - 2014

Tools & Such
This page is being used to showcase a number of home-brew tools for various
projects. Please click on an image for a larger view.
400W Spindle as Low Profile CNC Mill Lathe:
The video clip link included at right shows a
400W air cooled spindle, used as a low profile lathe for a CNC mill.
When I upgraded my mill to a 1,500W water cooled spindle, I decided to
use the original 400W spindle as a small lathe to rough out the blanks
for pen turning.
The live center mount at the right is made up of three layers of 1” HDPE,
to hold an MT0 live center. The mount has a 5/16”-18 screw at the back
to adjust the live center travel. And a 10-24 set screw at the top to lock
down the live center once it’s adjusted if necessary.
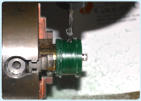
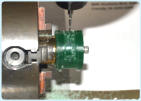
In this video I’m cutting a pen blank out of Mahogany, for a Dragon Twist Pen kit that I purchased from
Penn State Industries. The turning mandrel used for the lathe is a Drill Chuck Mandrel, also from Penn
State Industries. The CNC mill first cuts three separation areas in the blank, then trims the blank to 0.7”
diameter for a size check. If the trimmed blank doesn’t measure 0.7”, the mill “Y” position is adjusted as
needed for correction. In this example the blank measured 0.703”, so close enough. The two pen blank
sections are then finished on a small wood lathe.
The pen body is milled 0.030” oversize, as a pre-form that will be trimmed to
final size on a larger lathe. Then sanded to allow a CY (Cyanoacrylate /
Super Glue) coating to be applied to complete the project. The images at
right are examples of two PSI Dragon Twist Pens and a PSI LED Penlight.
Two were milled from African Padauk hardwood blanks, and one from a
Central American Cocobolo hardware blank.
Sherline 3700 Manual Rotary Table Converted for CNC:
The latest update for the CNC mill is a Sherline 3700 Manual Rotary Table, that has been adapted as a
fourth axis for the CNC mill. A 3-piece adapter was milled out of HDPE, to attach to the rotary table to
support a double ended stepper motor. This allowed the rotary table handle to be attached to the stepper
motor, to allow manual operation if needed.
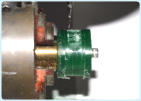
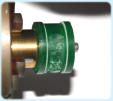
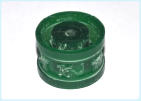
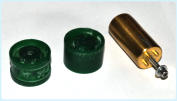
A brass mandrel was milled out of some 3/4” brass rod, as a support for milling a ring out of green
jeweler’s wax. The ring blank is milled with four holes in the blank. Three holes to slip over the brass
studs for alignment, and a center hole for a #4-40 screw to attach the ring blank to the brass mandrel.
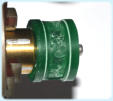
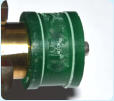
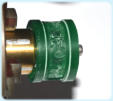
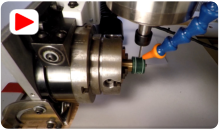
Included below is a link to a YouTube video, and some pictures from tests, milling a wax ring with a
Dragon, Wizard, and Castle image on the ring face. The backdrop was milled 0.035” deep, on a wax band
that was approximately 0.070” thick. A first pass was run along the entire face of the ring with a 1/8”
two flute end mill to true it to the CNC mill spindle. A roughing pass was then run with a 10 degree
Tapered Ball End Mill with a 0.010” end (Bits & Bits TEB10-010). A finish pass was then run with a 6
degree Spiral Pyramid End Mill with a 0.002” end (Bits & Bits 815-SPY6C 002). Total time to run for the
mill was approximately 20 minutes.
Water Cooled Spindle Flow Meter:
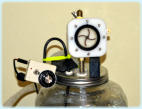
The image at right is of a flow meter fabricated for the 1,500W water cooled spindle, and
the coolant pump used, is a GRI +24VDC pump. The small almond box with dial and
switch is the speed control for the pump coolant pump.
Alignment Fixture for “Y” and “Z” Axis:
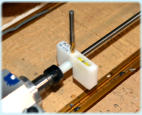
An alignment fixture was milled to set the “Y” and “Z” axis positions and is shown at
right. A 3/16” hole centered over the mandrel shaft, and small bubble level in the top
side, allows a 3/16” end mill to set the “Y” axis. The top of the fixture sets the “Z” axis
position as 0.6” above the center of the mandrel shaft.
Chip Clearing Air Assist for CNC Mill:
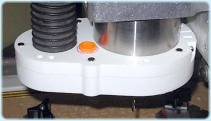
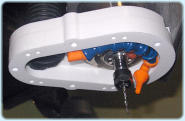
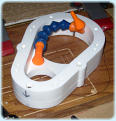
The photos below show an update made to the CNC Mill vacuum shoe, to help with chip clearing while
milling. The change used a set of 1/4” Loc-Line parts from McMaster-Carr, and either an air pump or a
small compressor attached to the Loc-Line port. This produced enough air pressure to help clear chips
while milling. The small compressor works best, but in some cases the high pressure air flow isn’t
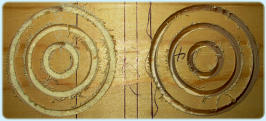
needed. The rightmost photo shows a milling example without air assist on the left side, and with air
assist on the right side. Without air assist the milled channels are pretty much filled with sawdust. With
air assist the channels are almost free of debris.

